
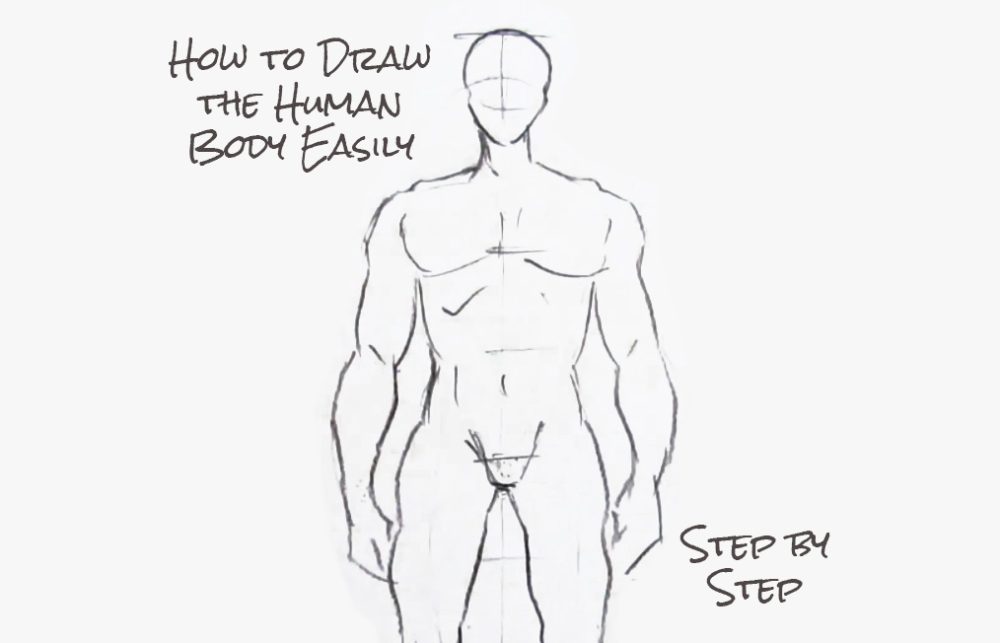
Drawing the human body can be a challenge, but with a bit of practice and patience, you can learn to create beautiful drawings. Here is a basic step-by-step guide to drawing the main shape of a male body.
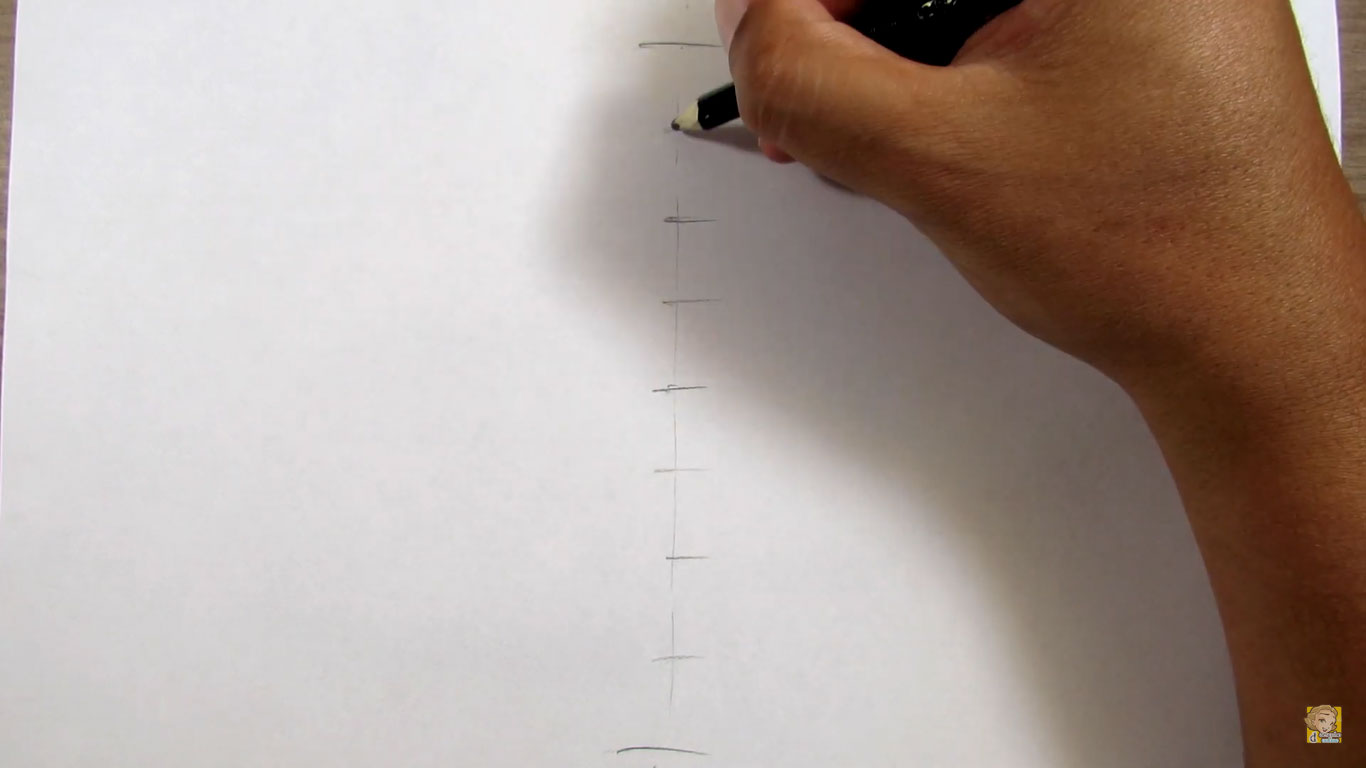
Step 1: Start by drawing a straight vertical line to represent the spine. Divide this vertical line in half, then divide each half again and continue until you have eight equal parts. This will help you establish the correct proportions.
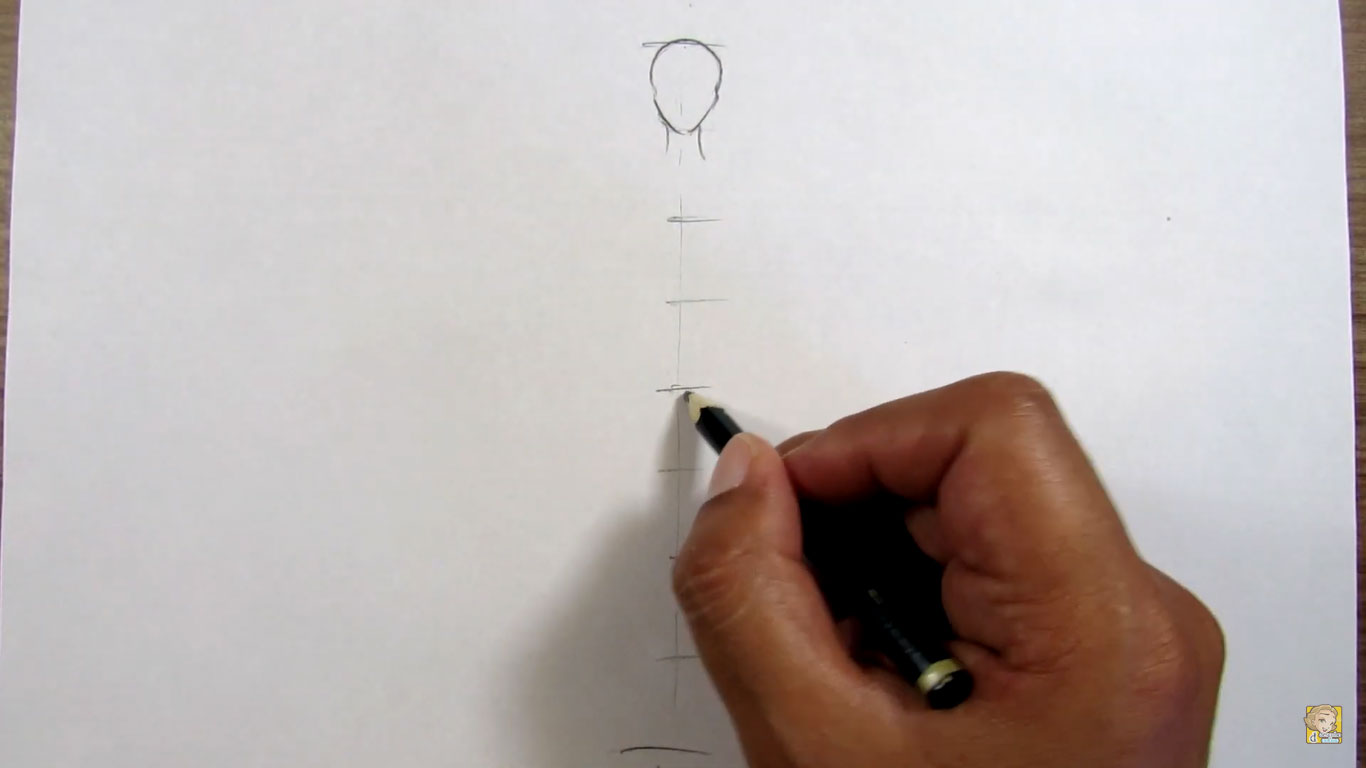
Step 2: The head should be approximately 1/8 of the total height of the body. The upper contour should resemble half a circle, and the base should look like a rounded cone. The transition between these parts, as well as the lower shape, depends on the type of face you choose. Draw the side outline of the neck—it doesn’t need to be straight; a subtle curve works well.
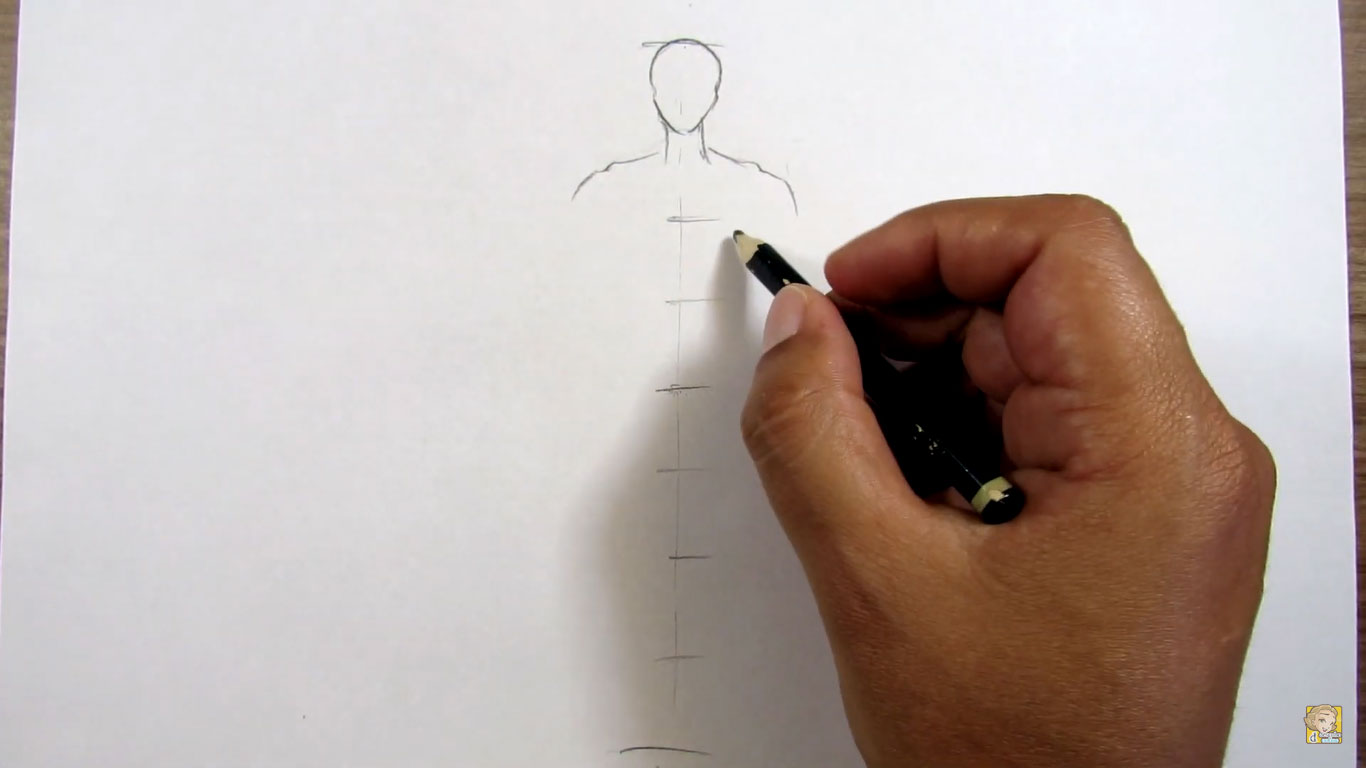
Step 3: Draw the upper part of the shoulders, highlighting the clavicle and the shoulders just below the chin. Notice that the trapezius and shoulders have a contour that gradually slopes downward. Also note that the distance from the shoulder tip to the head is roughly equal to the width of the head.
Step 4: Draw the base of the chest muscles and the outline of the armpits, noting that their ends are curved. Observe that the contours of the chest and pelvis form a “V” shape, with the top pointing toward the ends of the clavicles.
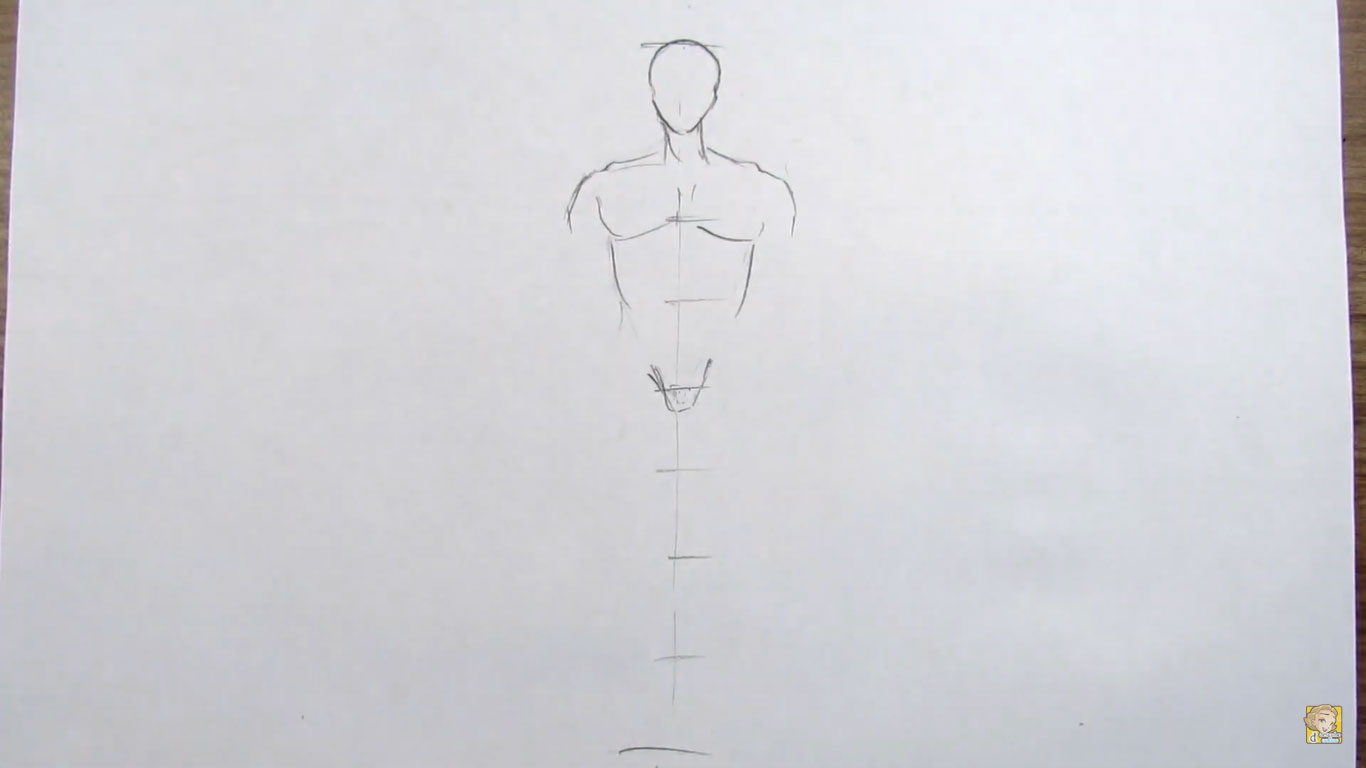
Step 5: Outline the thighs. Notice they are thicker at the top and thinner at the bottom. From the pelvis, draw a curved line that meets the thigh, followed by another curve in the middle of the thigh length, ending with a small curve around the knee.
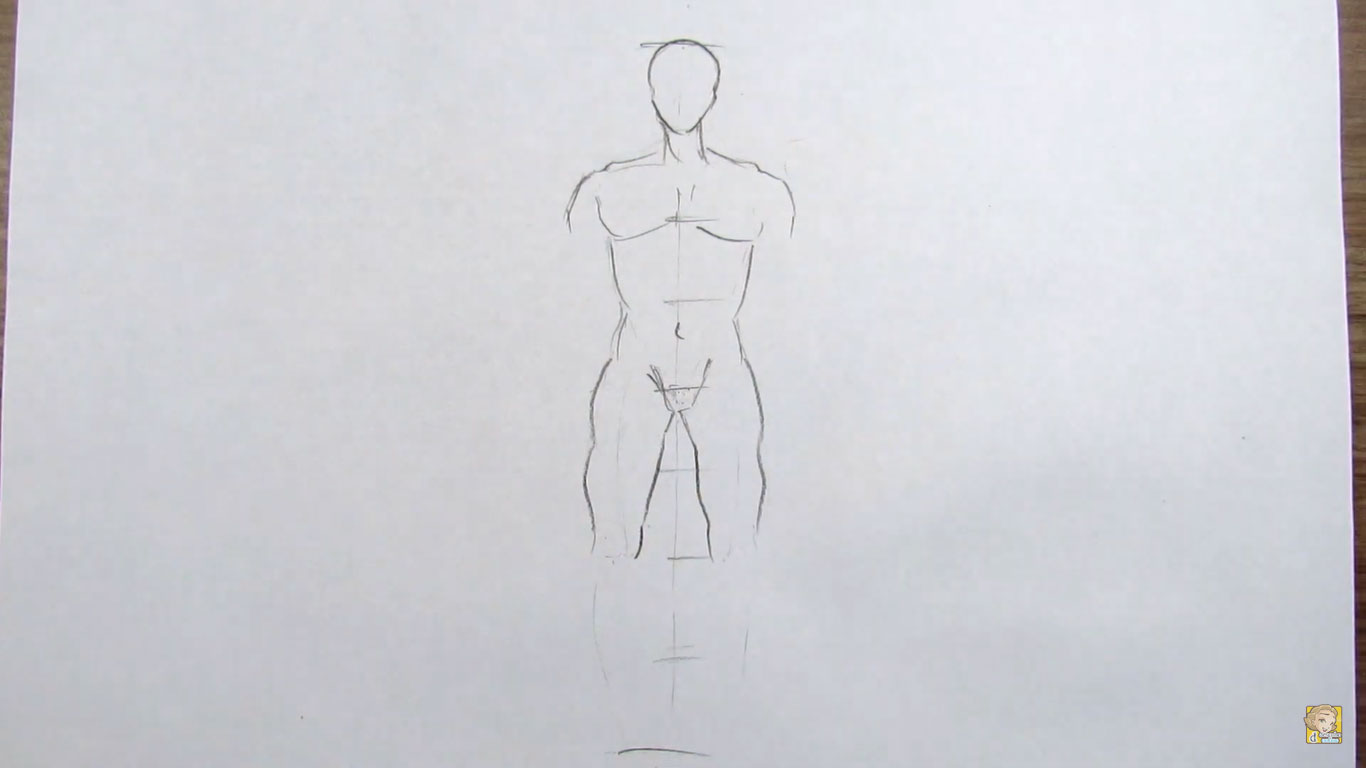
Step 6: Keep in mind that the limbs become narrower toward the ends. When drawing the legs, the calf should be more prominent while the shin is thinner. In general, the outer side of the legs slightly curves outward, while the inner side follows the same direction but less intensely.
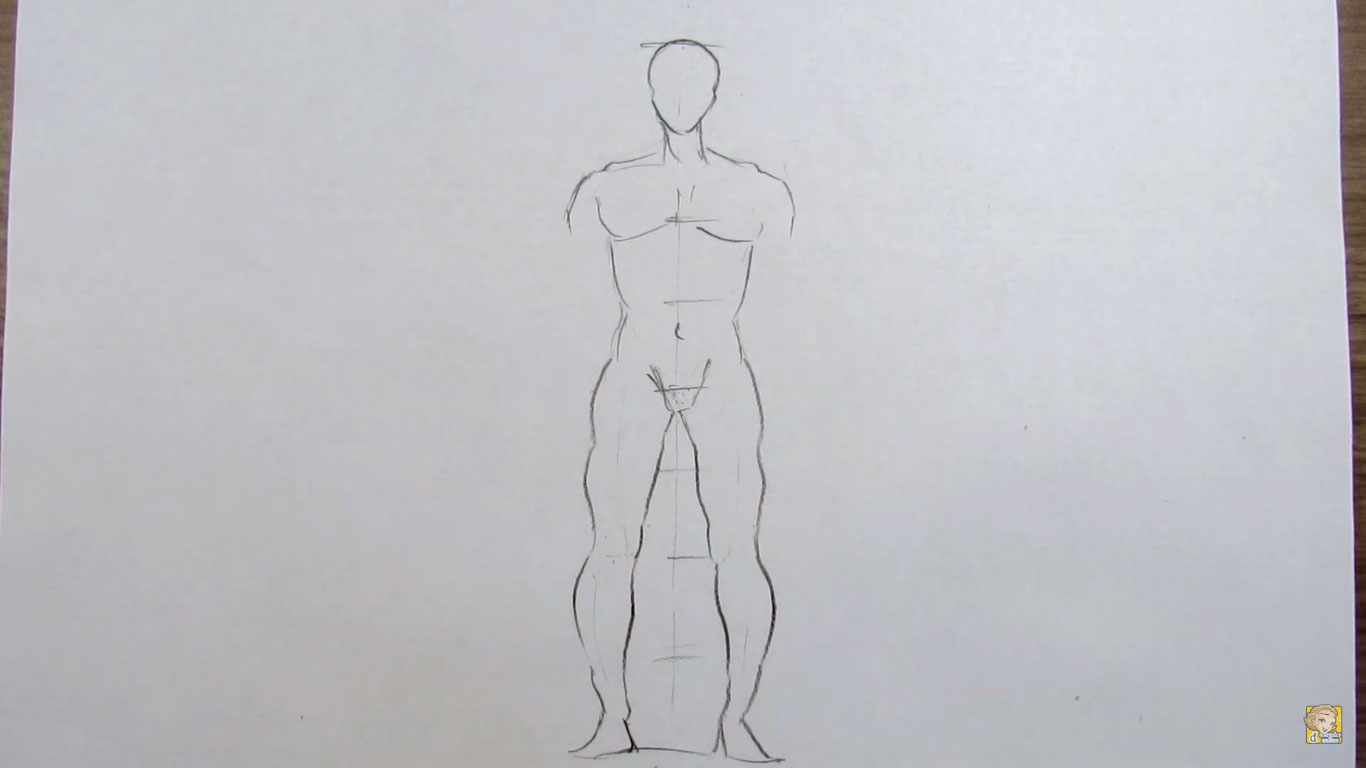
Step 7: Drawing the arms requires just two curves for each limb. Remember that from the shoulders, the arms extend diagonally downward and outward.
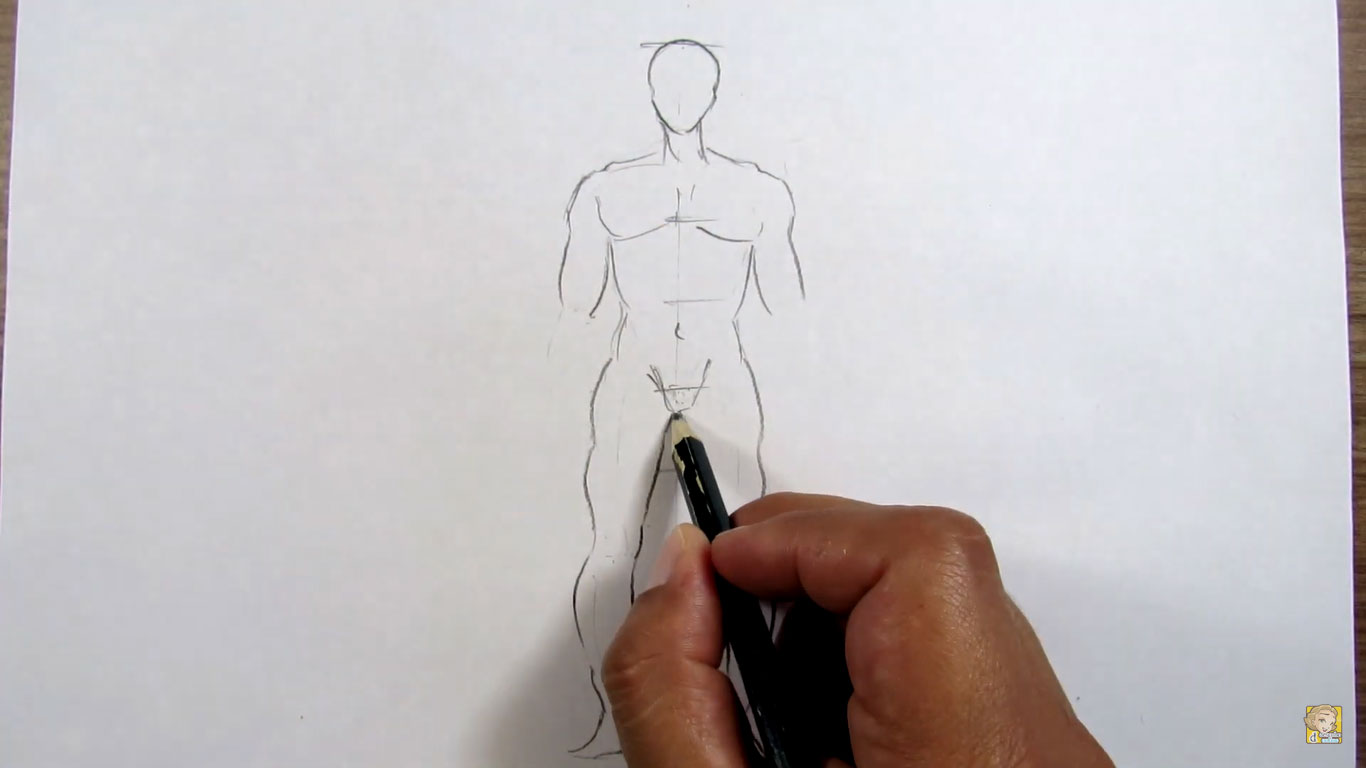
Step 8: Draw the arm contours, narrowing toward the wrist as shown. The hands do not need to be fully detailed if you’re aiming for a more stylized look. Try shaping them like a diamond, leaving the outer edge open and adding a line to suggest the thumb.
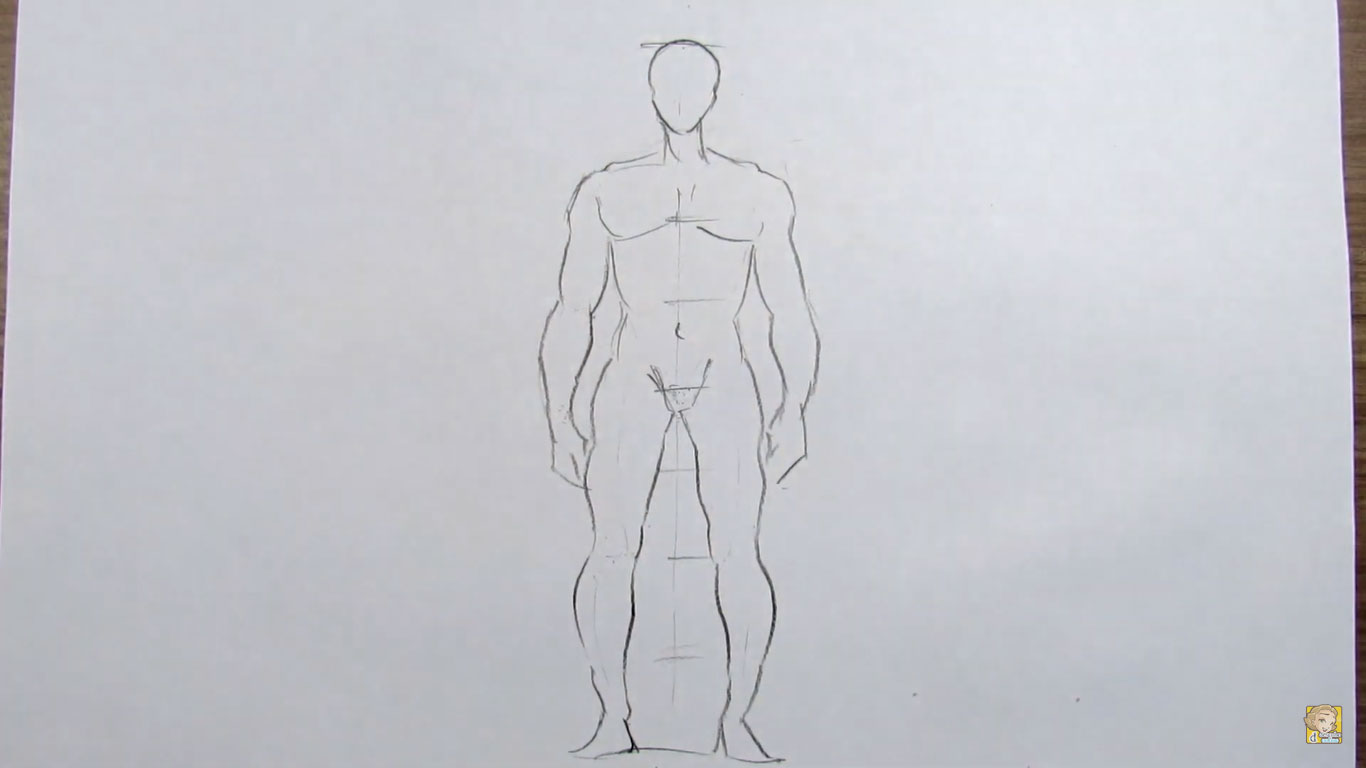
Step 9: Finally, you can add lines to define the main muscles of the limbs and torso, as well as subtle lines to indicate bones and body depressions, as shown in the example.
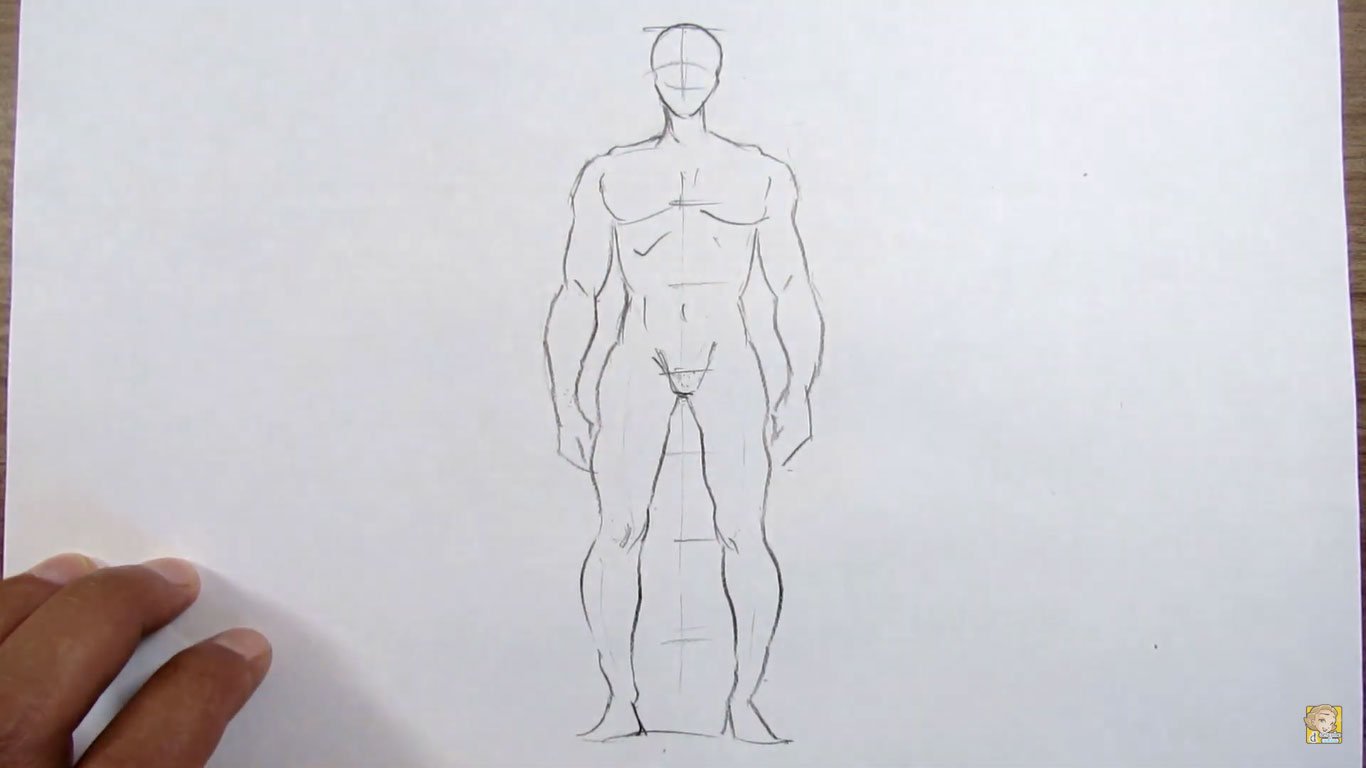
Remember that practice is essential to improving your drawing skills. Don’t get discouraged if your first drawings aren’t perfect. Keep practicing and experimenting with different styles and techniques, and you will see gradual improvement over time.
If you want to learn more about drawing characters in different styles, poses, and expressions, check out our drawing course—highly recommended for beginners who don’t know where to start. Visit https://desenhar.top and start today! Content in portuguese.
Additional Tips to Improve Your Human Body Drawings
Now that you understand the basic structure of the human body, it’s important to go beyond the initial sketch and start refining your technique. Many beginners stop at the outline stage, but true improvement comes from observing, adjusting, and practicing consistently.
Understanding Proportions More Deeply
While the “8-heads” rule is a great starting point, it’s not the only proportion system used by artists. Depending on the style you choose, proportions can vary significantly. For example:
- Realistic figures often follow the 7.5 to 8 heads rule
- Heroic or comic-style characters may have 8.5 to 9 heads
- Stylized characters (like chibi) can have 2 to 4 heads
Learning to adjust proportions based on your artistic goal will give you more flexibility and creativity in your drawings.
Gesture Drawing: Bringing Life to Your Sketch
One common mistake beginners make is drawing stiff figures. To avoid this, try gesture drawing. This technique focuses on capturing movement and flow rather than details.
Start by drawing quick lines that represent the action of the pose. These lines are often called “line of action” and help give your character a sense of balance and dynamism.
Practice drawing gestures in 30 seconds to 2 minutes. This will train your brain to see the body as a whole instead of focusing too much on small details early on.
Simplifying the Body into Basic Shapes
Another powerful technique is breaking down the body into simple geometric forms:
- The head can be a sphere
- The ribcage can be an oval or box
- The pelvis can be a tilted rectangle
- Limbs can be cylinders
This approach makes it easier to construct the body in different poses and perspectives. Instead of guessing anatomy, you build it step by step.
Working with References
Using references is not cheating—in fact, it’s one of the best ways to improve. Professional artists constantly use references to study anatomy, lighting, and poses.
You can use:
- Photos of real people
- Pose reference websites
- Anatomy books
- Even your own reflection in a mirror
Try to observe how muscles behave, how weight is distributed, and how the body changes in different positions.
Adding Volume and Depth
Once your basic sketch is ready, you can start adding volume. This means turning flat shapes into three-dimensional forms.
To do this:
- Add light and shadow
- Think about where the light source is
- Shade areas that are farther from the light
- Highlight areas that face the light
Even simple shading can make your drawing look much more realistic and professional.
Common Mistakes to Avoid
As you practice, watch out for these common mistakes:
- Heads that are too big or too small
- Arms that are too short
- Legs that don’t align with the hips
- Stiff and unnatural poses
- Ignoring balance (the character looks like they might fall)
Being aware of these issues will help you correct them faster.
Practicing Consistently
Improvement in drawing doesn’t happen overnight. The key is consistency. Even 15 to 30 minutes of daily practice can lead to significant progress over time.
Try setting small goals, such as:
- Drawing one full body per day
- Practicing only hands or feet for a week
- Recreating poses from references
Tracking your progress will also help you stay motivated.
Exploring Different Styles
Once you feel comfortable with basic anatomy, start experimenting with different styles. This is where drawing becomes truly fun.
You can try:
- Realistic style
- Anime and manga
- Cartoon and caricature
- Chibi characters
Each style has its own rules and exaggerations, but all of them benefit from a solid understanding of anatomy.
Developing Your Own Style
Over time, you’ll naturally begin to develop your own drawing style. This comes from combining everything you’ve learned with your personal preferences.
Don’t rush this process. Your style will evolve as you practice more and explore new techniques.
Final Encouragement
Learning to draw the human body is a journey. At first, it may feel difficult, but every drawing you make brings you one step closer to improvement.
Remember:
- Every artist started as a beginner
- Mistakes are part of the learning process
- Practice is more important than perfection
Keep drawing, keep experimenting, and most importantly—enjoy the process.
If you’re serious about improving faster and learning structured techniques, consider checking out a complete drawing course. A good course can guide you step by step, saving you time and helping you avoid common mistakes.
Start today, stay consistent, and you’ll be amazed at how much you can improve over time!